
Physical Camera Installation Guide
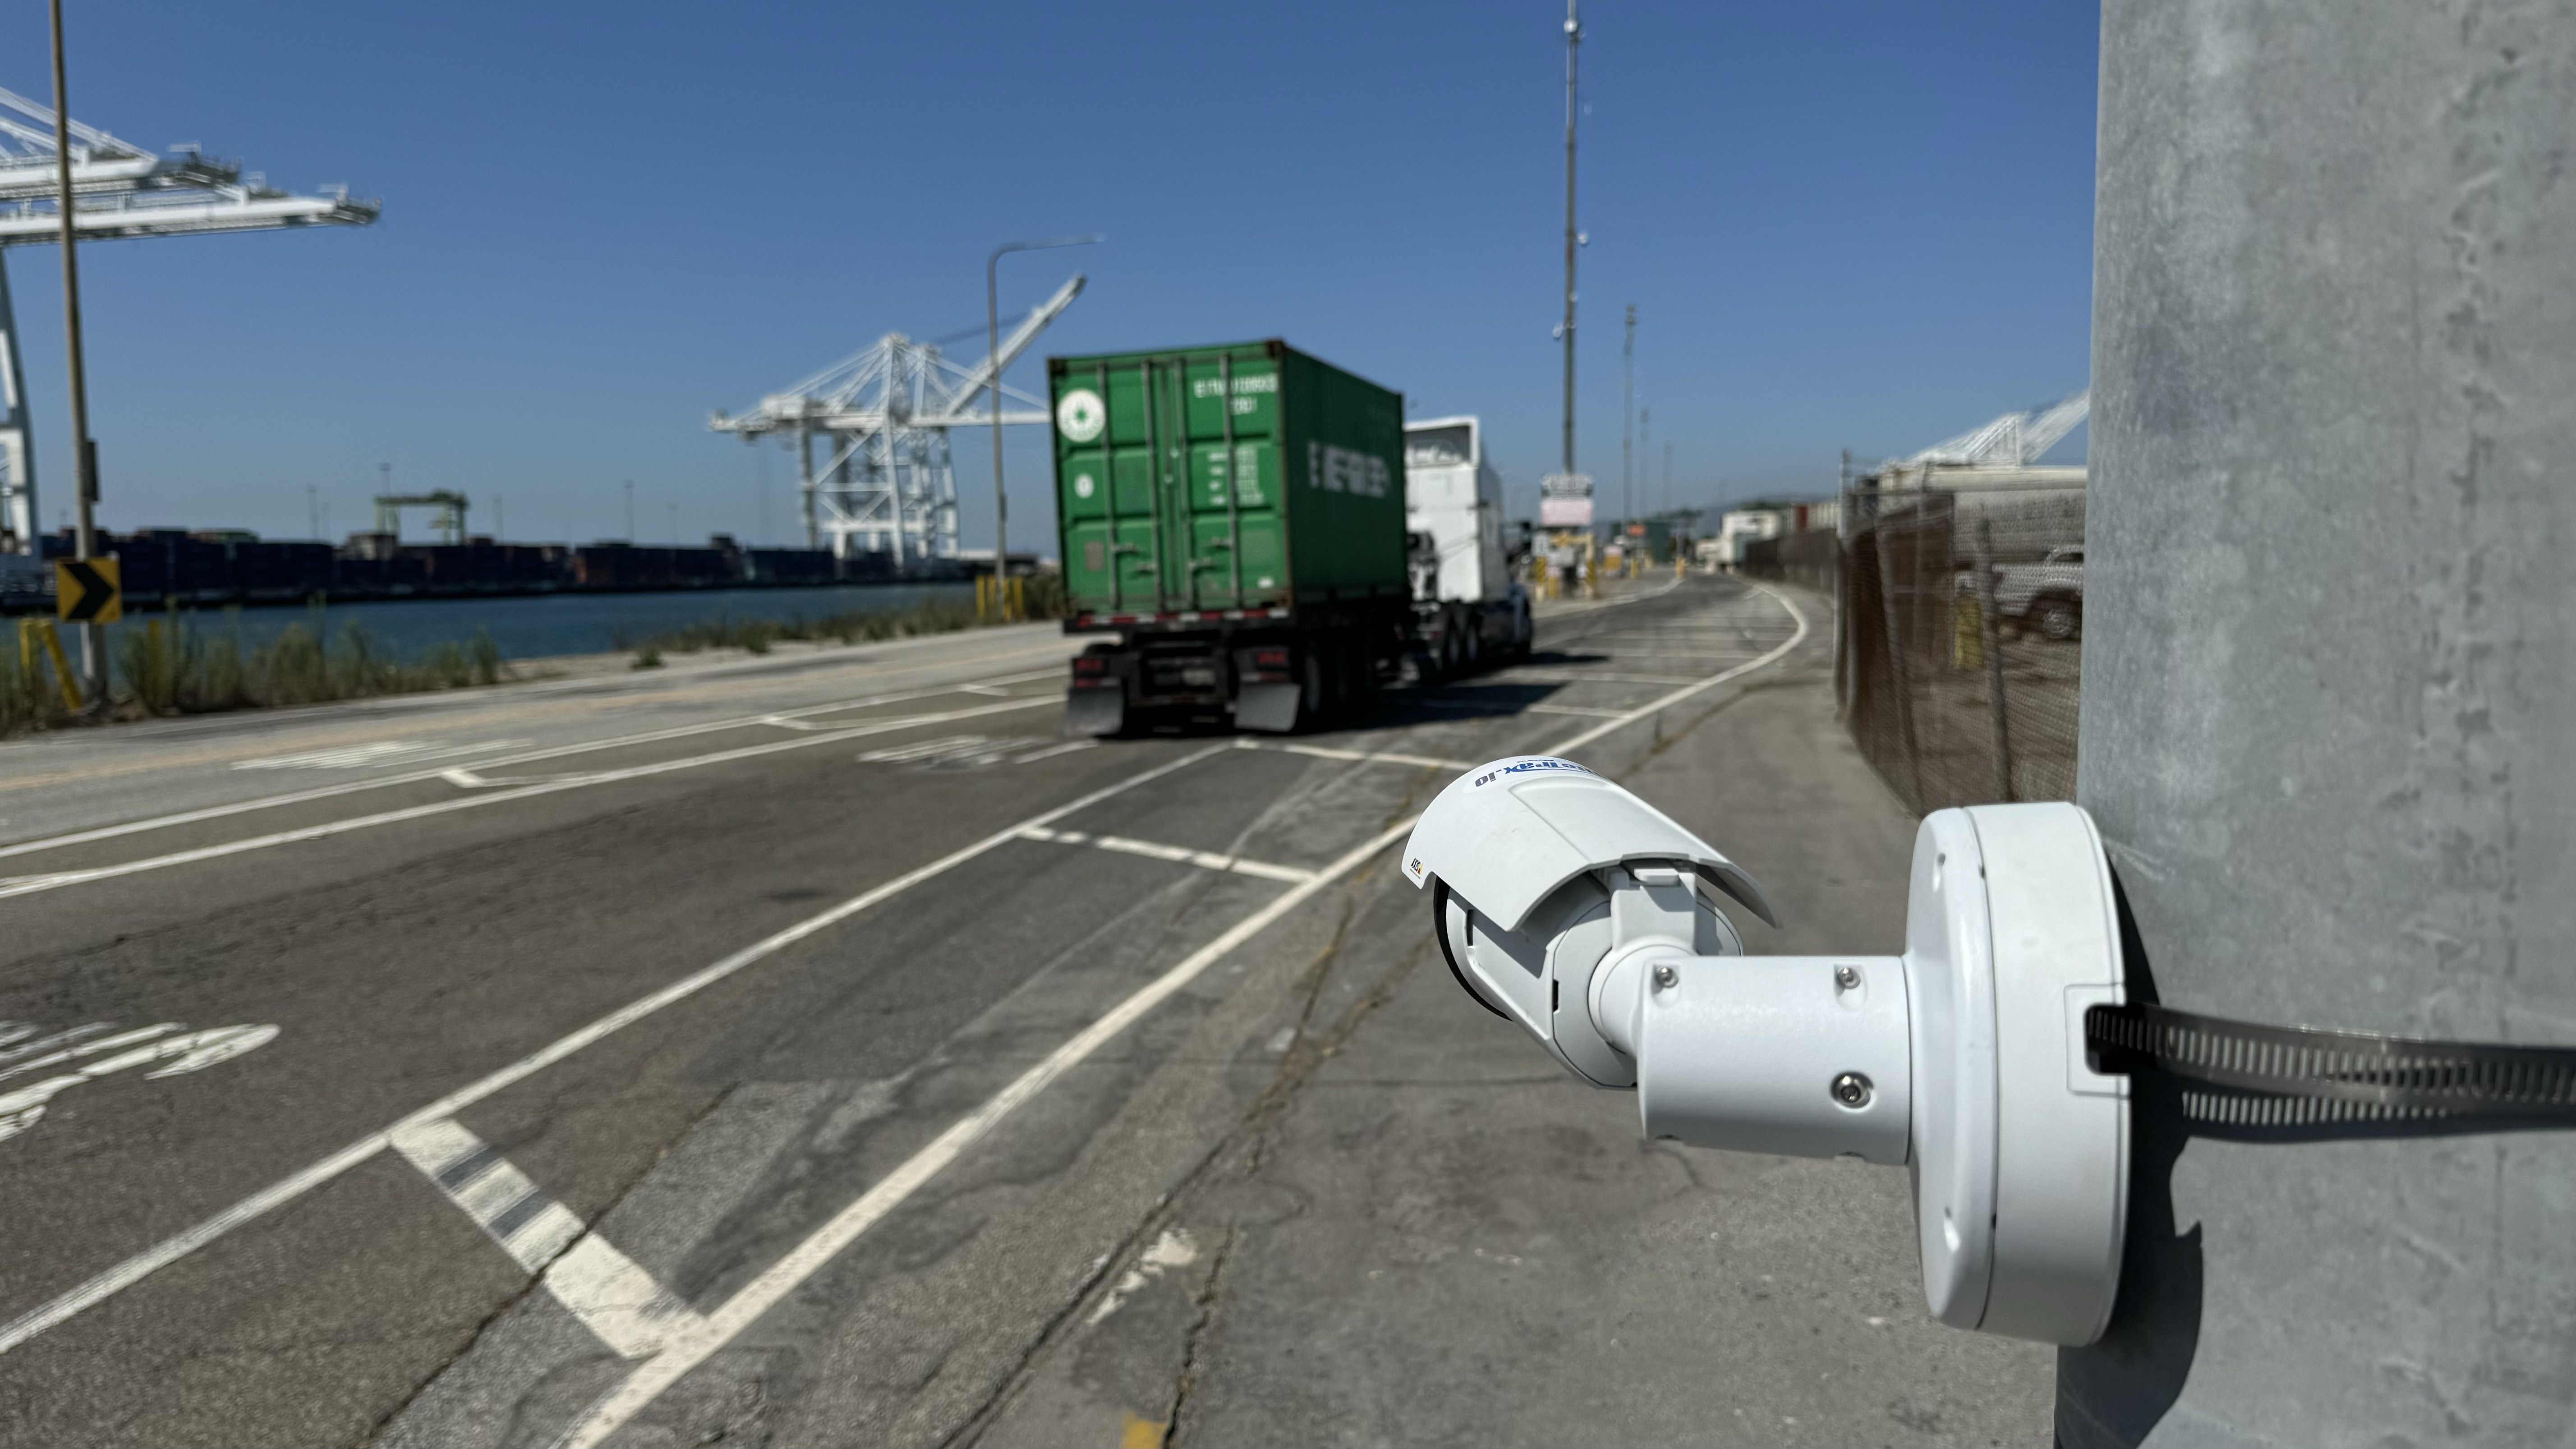
UseFor hardware installers: use this field guide to position,mount, mount,connect, aim, and test cameras for SiteTrax.io OCR. The numbered steps cover fixed Gate and Bring Your Own Camera (BYOC) installations.cameras. ForSiteTrax.io vehicle-mounted or handheld capture, useand the productcustomer's linksdesignated below.integration team handle software integration and OCR acceptance. Agree who adjusts the camera settings before the site visit.
Before permanent mounting: send representative recorded footage to SiteTrax.io for review. A clear view of a vehicle does not necessarily make its identifiers readable.
Quick reference: fixed Gate cameras
Start with these published SiteTrax.io recommendations, then validate the actual lane and markings. Measure mounting height from the road surface to the centre of the lens.
| Item | Starting recommendation |
|---|---|
| Rear container and chassis IDs | About 3 ft (1 m) above the road. Keep both marking locations visible. |
| Container ID only | 4–6 ft (approximately 1.2–1.8 m) above the road. |
| Camera coverage | At least one camera per lane; two per lane is the published best practice. Assign each view to its intended lane, direction, and markings. |
| Vehicle speed | 10 mph (16 km/h) or less through the capture zone. |
| Recorded video | 1920 × 1080 at 30 fps; MP4; clips no longer than 1 minute. |
| Lens | 6 mm or longer is the published recommendation. Select the actual focal length for the camera sensor, distance, and required view. |
Sources: Gate requirements and Input Video specification. These heights apply to the stated fixed rear views, not every OCR installation. Other views, distances, angles, minimum character size in pixels, and acceptance rates are project-specific.
1. AgreeConfirm the captureinstallation planbrief
Before buying equipment or visiting the site, obtain a short installation brief agreed with SiteTrax.io and the customer. It must identify:
InstallerEquipment:+camera and lens models, mounts, lights, and outdoor/temperature suitability. Have SiteTrax.io:ioconfirmreview third-party camera compatibility using theidentifiers,BYOCasset types, lanes, directions, maximum speed, and day/night operation.guide.MarkLayout:cameraeachpositions,camera'slights,lane,trafficdirection,paths,required identifiers, mounting position, target distance, andtheintended reading area (the capture zone). Mark lights and traffic paths on a site sketch.
Resolve missing details before buyingpermanent third-partyinstallation. hardware.The quick-reference recommendations do not replace the site layout or equipment specifications. BYOC storage and software tasks belong to the designated integration team unless separately assigned.
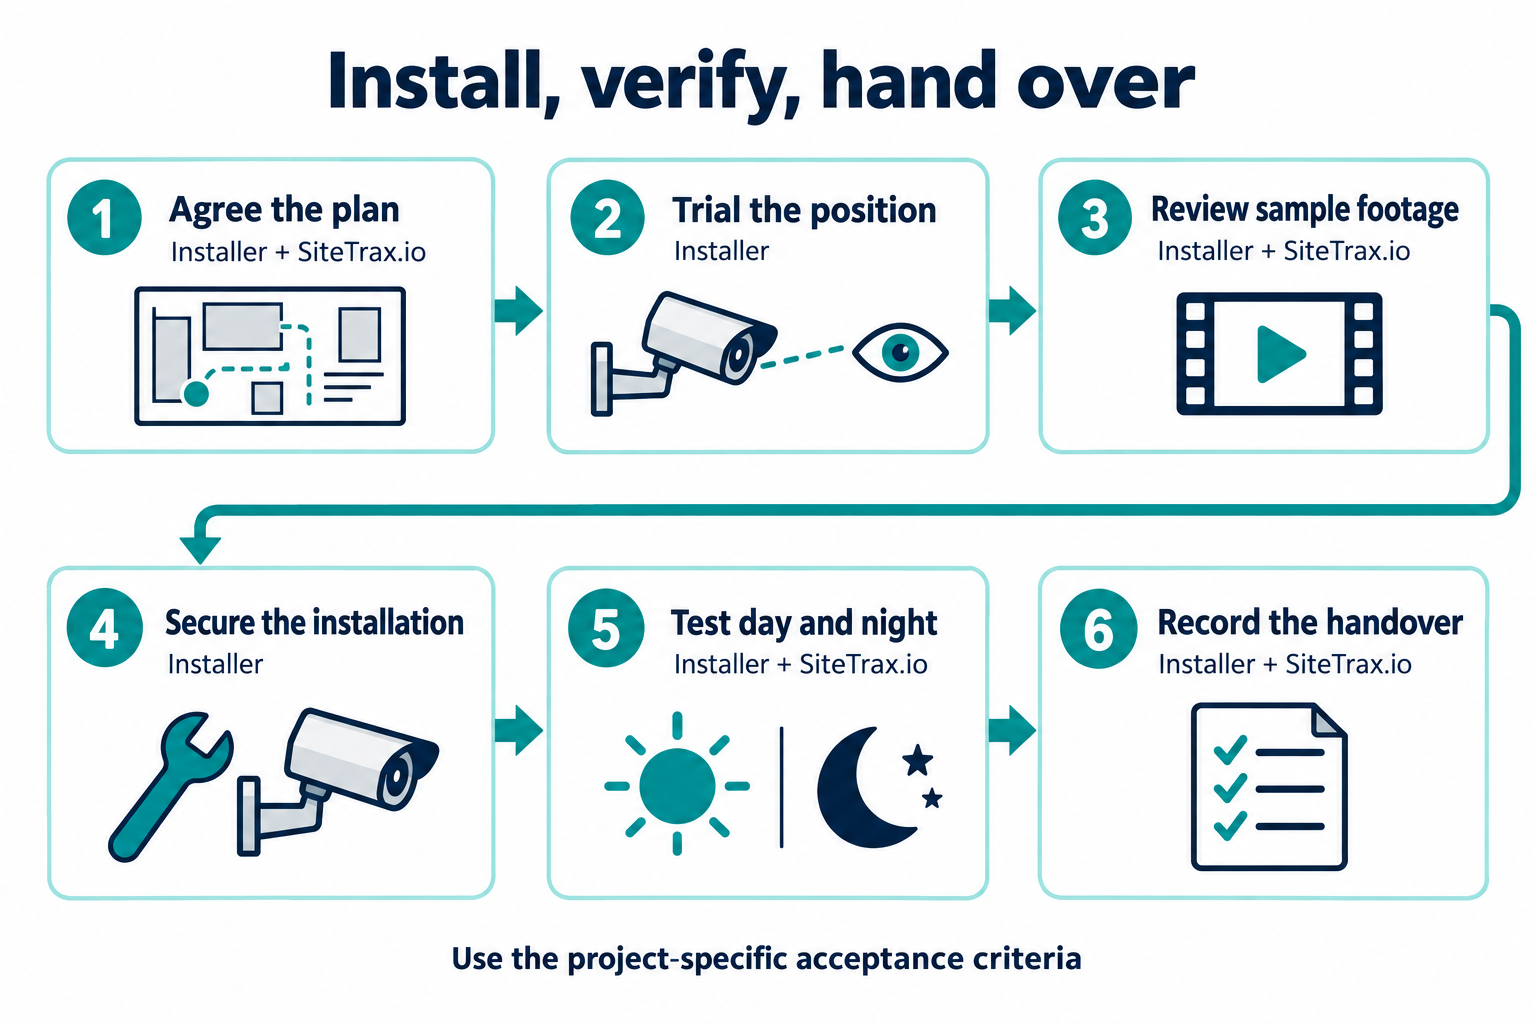
2. Trial the position and framing
- Use a representative vehicle at the capture zone. Trial the applicable height from the table before drilling permanent fixings.
- Aim as squarely as practical at the required markings. Keep text level; avoid steep downward or sideways views.
AdjustWork with the camera-configuration owner to adjust optical zoom and focus so the smallest required text is readable in the saved recording at full resolution. Digital zoom cannot restore missing detail.- Check the nearest and farthest vehicle positions and normal lane wandering. Include the complete identifier without clipping.
- Check queues, adjacent traffic, barriers, and vehicle structures for obstruction. If both container and chassis IDs cannot be captured clearly, change the position or add a view.
- Record moving samples and review them with SiteTrax.io before securing the final position.
Measure and record lens height, camera-to-target distance, and lane offset. Use dedicated lane/direction views as the baseline. A shared or bidirectional view requires validation with SiteTrax.io; see Gate Operations.
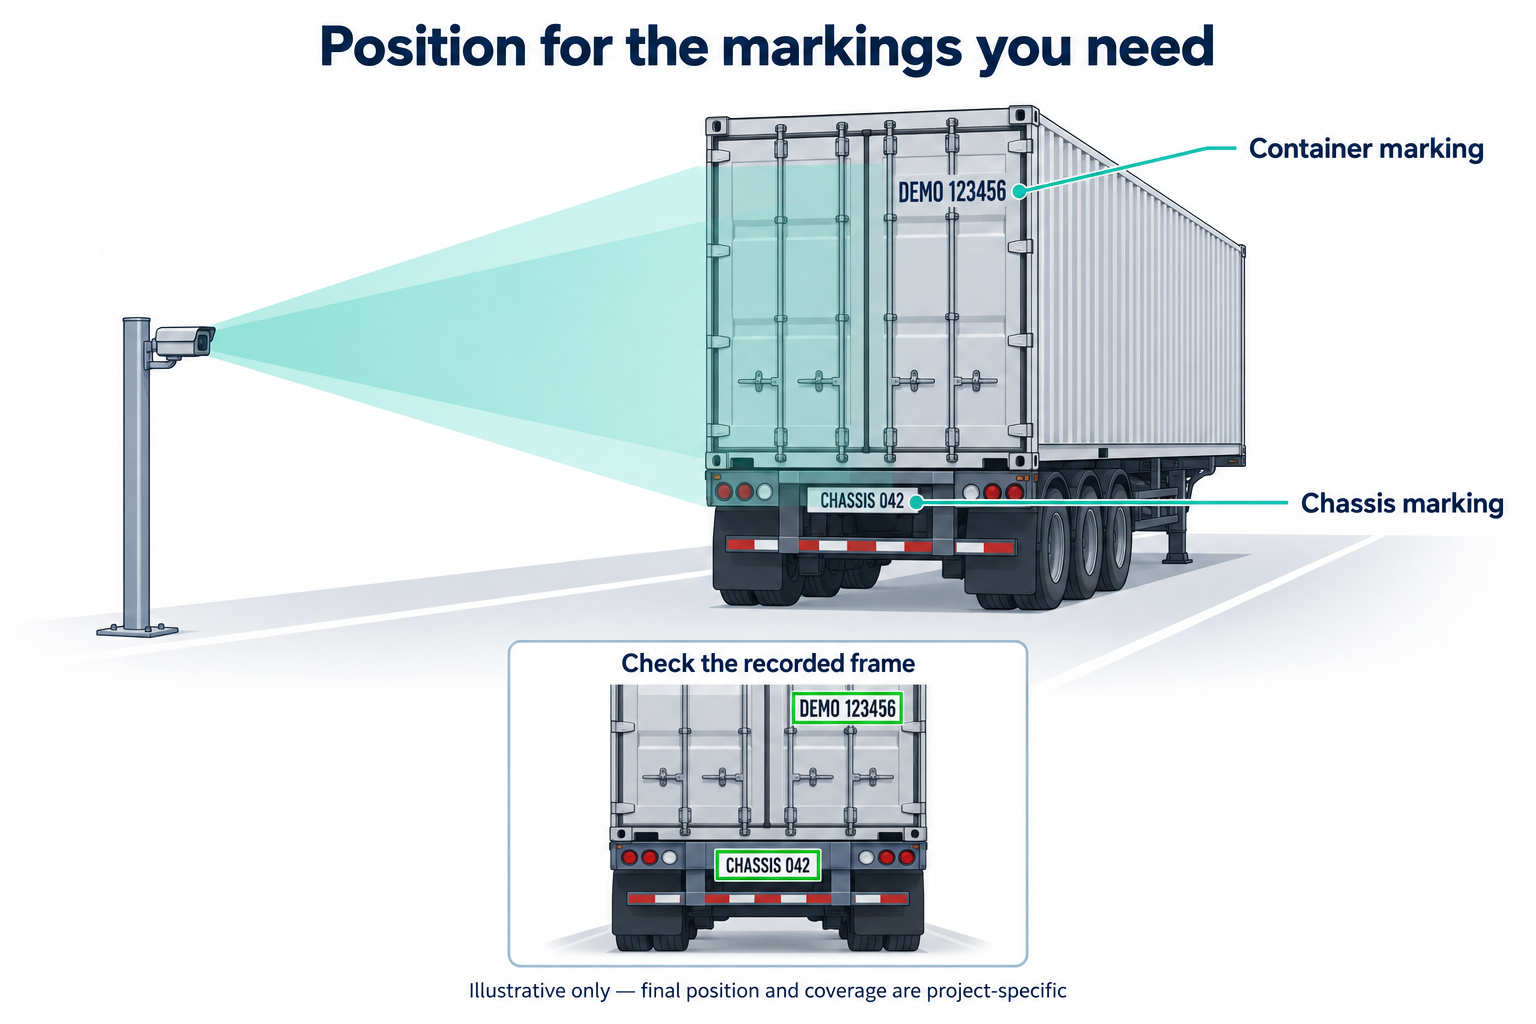
Illustrative coverage only; not a scale drawing or prescribed mounting geometry.
3. Secure the camera and cabling
- Use a rigid mount and manufacturer-approved fixings suitable for the structure and outdoor conditions. Protect low cameras from vehicle impact.
- Keep the camera and cables outside vehicle clearance and pedestrian routes. Provide safe maintenance access.
- Fit weatherproof glands, connector protection, strain relief, and drip loops. Follow the hardware instructions for power, grounding, and surge protection.
- Tighten fixings to the manufacturer's specification, secure cables, and label the camera and network connection.
- Verify camera power and the network link with the customer IT contact; confirm the configuration owner can access the camera.
4. Check moving images in daylight and darkness
Capture samples at the agreed maximum speed and vehicle positions. The installer adjusts physical placement and lighting; the camera-configuration owner changes image settings. Review the saved clips together:
- Blurred moving text: shorten exposure with the camera supplier or SiteTrax.io; add suitable light if the result becomes too dark. 30 fps alone does not prevent blur.
- Washed-out text or glare: adjust lighting position/output and exposure. Check actual painted and reflective markings.
- Dark or uneven text: illuminate the complete capture zone and retest at night. Check focus after day/night switching.
- Ghosting or bands: review WDR and lighting flicker settings with the supplier, using recorded moving footage.
The Gate lighting guidance provides a starting arrangement. Lamp output is not a measurement of light reaching the marking; acceptance depends on the recorded result.
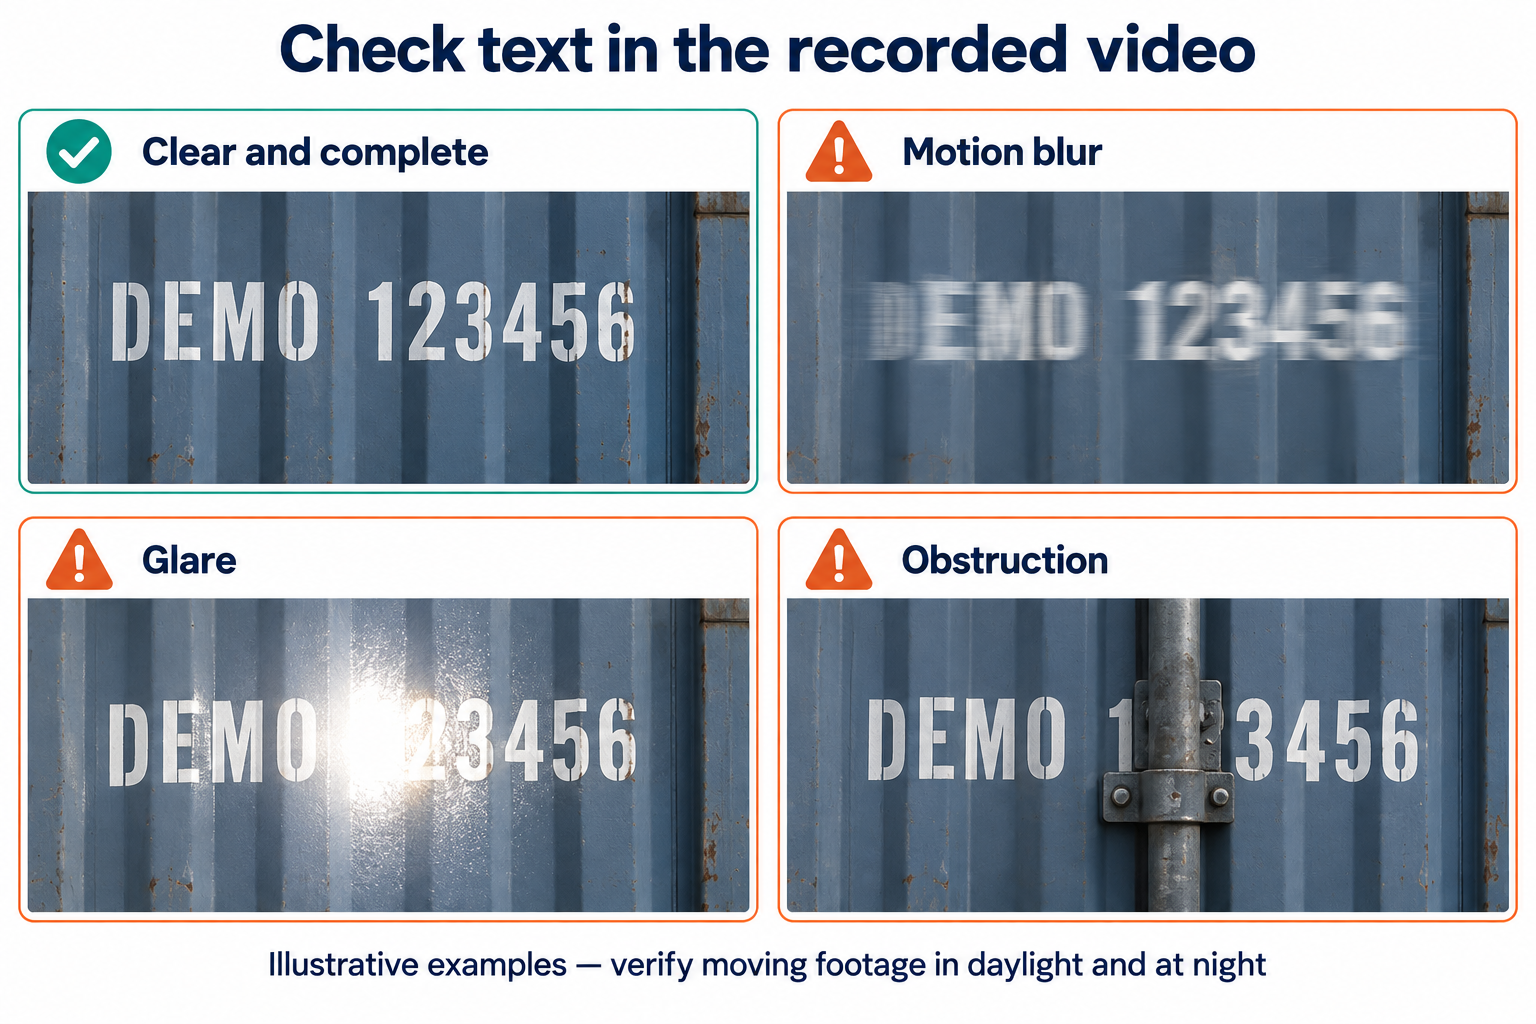
Simulated examples, not OCR test results.
5. Commission:Complete completionthe checklisthardware handover
CopyInstaller thischecklist: checklist into the installation record. Ticktick each item only when itschecked evidenceand is available.documented.
- ☐
Position:Mounting:final lens height, distance, lane offset, camera/lens model,camera andinstallationlightsphotossecured;recorded.connectors weatherproofed; cables protected and labelled; vehicle clearance checked. - ☐
Coverage:Power and network:everycamera powered correctly, network link verified, and access confirmed with the configuration owner.
Send the record and clips through the agreed project channel. SiteTrax.io reviews the capture evidence and identifies any physical adjustments needed. Record hardware handover separately from final OCR acceptance.
Integration acceptance — SiteTrax.io and customer integration team
These checks belong to the designated integration team, not the hardware-only installer:
RecordFor theresult testinterpretation, results: Keep a brief report and sample clips with the installation record. Include the project and camera, test date, conditions and speed, and whether the agreed targets were met. Note any unresolved issues and who approved the installation.
Do not use stored row counts or an A0 status as proof of accuracy. Seesee How Intelligence uses SiteTrax.io data. For missing uploads or results, use the Troubleshooting Guide.
Other capture methods and ongoing checks
- Vehicle-mounted: follow the Drive installation guide for mounting, cabling, and power. Check vibration and moving footage; the fixed Gate heights above do not apply.
- Handheld: follow Capture Android or Snap. Keep the required markings complete, steady, and well lit.
- Maintenance: inspect cleanliness, alignment, fasteners, seals, cables, and lights on the agreed schedule. Repeat affected tests after impact, relocation, or changes to camera settings, lighting, or lane layout.
Reference notes
Reviewed 23 September 2026. External guidance supports the imaging approach: Plate Recognizer camera setup, Axis mounting guidance, and Visy Truck OCR Portal. Their product-specific heights, angles, speeds, and accuracy claims are not SiteTrax.io acceptance limits.