SiteTrax.io Gate
SiteTrax.io Gate (https://www.sitetrax.io/gate) is an AI-driven solution designed to automate and enhance asset tracking at key entry and exit points across the supply chain. This includes facilities such as warehouses, distribution centers, and transportation hubs. By using advanced camera systems and AI technology, SiteTrax.io Gate captures videos of assets as they pass through gates and automatically extracts essential data like asset ID, GPS coordinates, and timestamps.This real-time data capture eliminates manual processes, improves operational efficiency, and provides accurate records for in-gates, out-gates and inventory management. SiteTrax.io Gate is ideal for streamlining gate operations, offering seamless visibility and tracking for assets throughout the entire supply chain.
- SiteTrax.io Gate - Camera Installation Requirements and Guidelines
- Bring Your Own Camera (BYOC)
- Physical Camera Installation Guide
SiteTrax.io Gate - Camera Installation Requirements and Guidelines
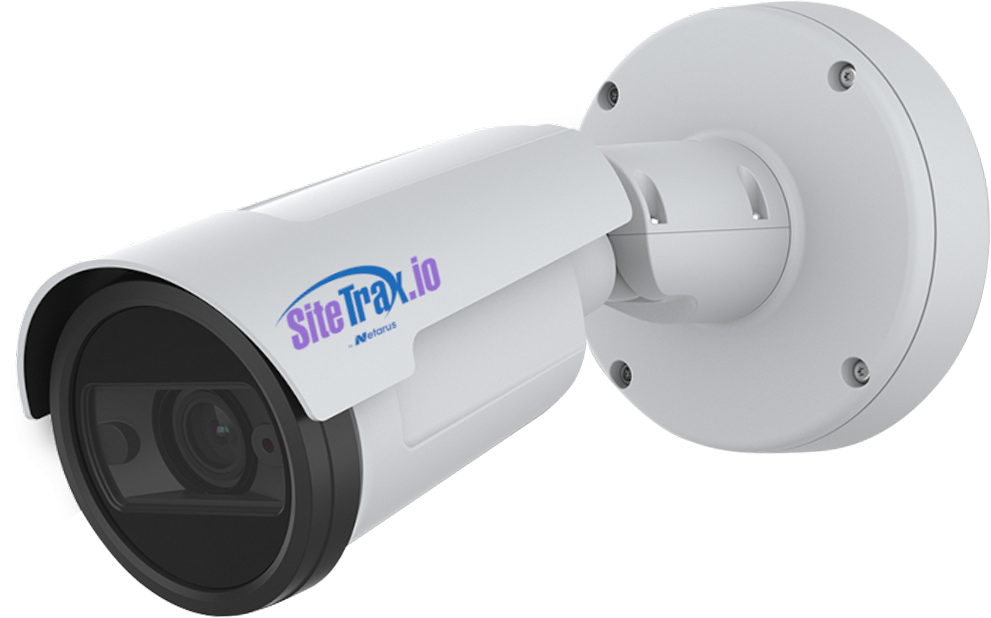 This document outlines the key responsibilities, expectations, and requirements when deploying a SiteTrax.io Virtual Gate camera system. If you have any questions regarding any of the topics covered, feel free to reach out to SiteTrax.io support.
SiteTrax.io Responsibilities
SiteTrax.io will be responsible for the following aspects of the Virtual Gate installation:
1. Video Delivery
SiteTrax.io will ensure that the video feed from the camera is transmitted to our cloud servers. We will also configure any necessary webhook destinations as required. For more information on integrating with the SiteTrax REST API, please refer to the relevant knowledge base article.
2. Motion/Object Detection, Resolution, and Field of View
The SiteTrax.io team will configure motion detection based on the camera's orientation and field of view at each site. Since traffic patterns can vary by facility, SiteTrax.io will provide recommendations for camera orientation and layout to optimize performance.
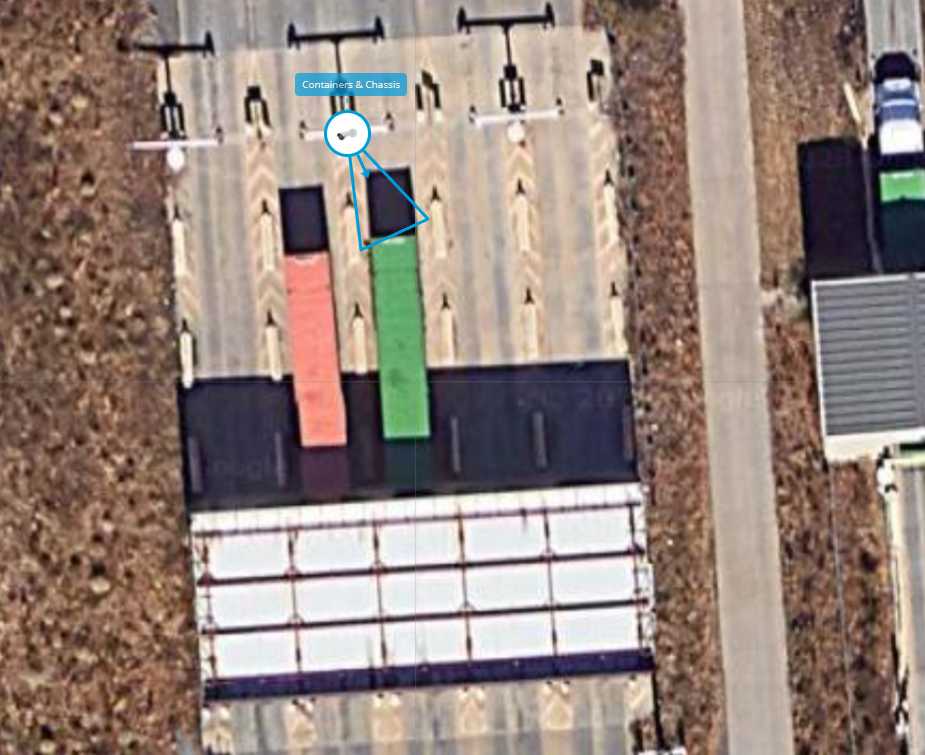
3. Camera Tuning (Day/Night Mode)
Proper lighting is crucial for accurate object detection. SiteTrax.io can fine-tune cameras for lower light conditions and offer guidance on optimal lighting practices during setup.
4. Access to SiteTrax.io "Digital Twin" Results
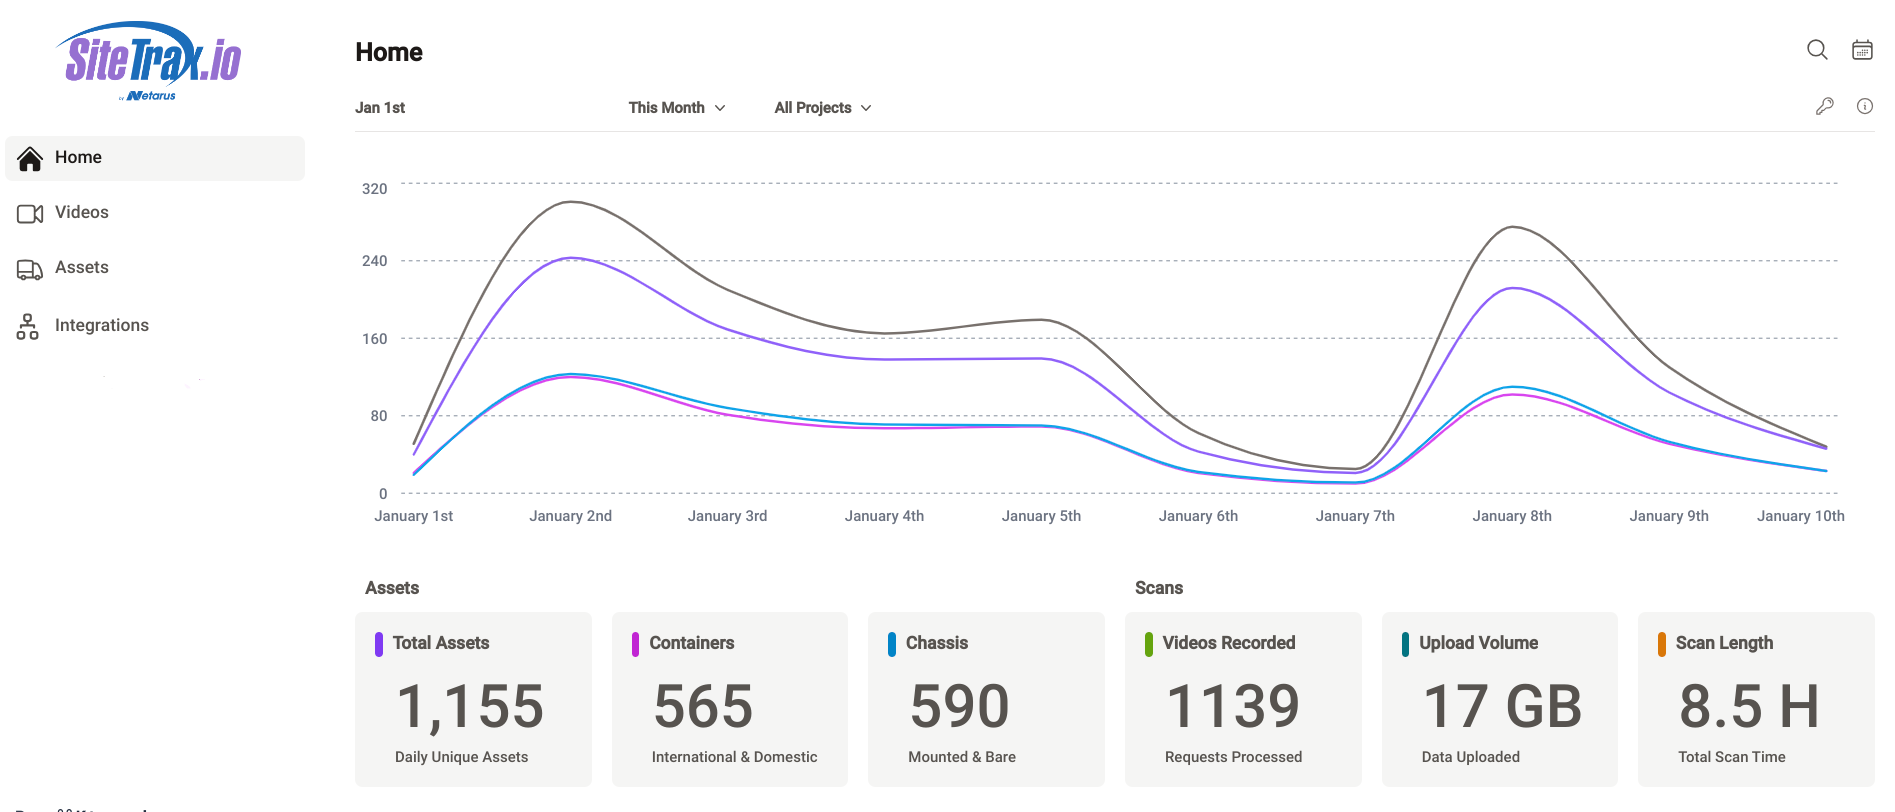
The SiteTrax.io Intelligence (https://app.sitetrax.io) provides a list of all objects detected by the Virtual Gate camera, including captured images and original video recordings.
Customer Responsibilities
The customer is responsible for the following aspects when installing a SiteTrax.io Virtual Gate camera:
1. Infrastructure
Customers must ensure appropriate infrastructure is in place for camera installation, including power and internet connectivity. While a single camera may cover multiple directions, it is recommended to deploy dedicated cameras for each specific direction (e.g., in-gate, out-gate, or multiple lanes).
2. Minimum One Camera per Lane
For optimal performance, SiteTrax.io recommends installing one camera per lane. Using a single camera for both in-gate and out-gate operations or for covering multiple lanes is not recommended. Best practice is to deploy two Virtual Gate cameras per lane to capture traffic effectively.
3. Maintenance
Customers are responsible for ongoing maintenance, such as cleaning the camera lens and making repairs if the camera is damaged due to environmental factors or accidents.
4. Firmware and Application Upgrades
Occasionally, firmware or application updates may be required to ensure the camera has access to the latest features. SiteTrax.io will provide instructions on how to connect to the camera and perform upgrades. The customer is responsible for installing updates or providing remote access to SiteTrax.io for these tasks.
5. Data Storage
If raw video and interpreted images need to be retained for longer than 90 days, work with SiteTrax.io to confirm a customer-provided storage solution and its retention policy. See the dedicated storage provider section for the documented option.
6. Data Destination
Once SiteTrax.io processes the "digital twin" of the detected object, the customer must maintain the final destination of this data. SiteTrax.io partners with providers that offer turn-key visualization platforms (e.g., YMS, WMS, TMS, TOS, ERP) to receive and process SiteTrax.io API data. Please refer to the SiteTrax.io Terms of Service for more information.
7. Camera Mounting and Orientation
After mounting the camera, adjustments may be needed to ensure optimal height, orientation, and angle. For example, to capture the back of containers and chassis, SiteTrax.io recommends mounting the camera at a height of approximately 3 ft (1 m) for chassis and containers, or 4 to 6 ft (1.3 to 2 m) for detecting only containers.
8. Lighting
Proper lighting is essential for detecting objects at night. SiteTrax.io recommends LED lighting with a color temperature of 7,000K (bright white) and a brightness of 5,000 lumens. Lights should be mounted approximately 20 ft from the objects being scanned for optimal results.
9. Speed Control
To avoid motion blur and ensure accurate capture, the vehicle speed should be controlled around the Virtual Gate. SiteTrax.io recommends using stop signs or speed bumps to slow vehicles down to 10 mph (16 kph) or less.
10. Exception Handling
In some cases, the system may not be able to identify certain objects, such as when container IDs are damaged or chassis IDs are missing. In such cases, SiteTrax.io will classify these objects as unknown. Customers should establish a process for manually reviewing and classifying these exceptions.
Need Additional Assistance?
These guidelines provide a foundation for the successful deployment of a SiteTrax.io Virtual Gate camera system. However, site-specific variables may affect performance. For further assistance with design, integration, or third-party services, please contact the SiteTrax.io team.
For questions or support, please visit the SiteTrax.io support page.
Bring Your Own Camera (BYOC)
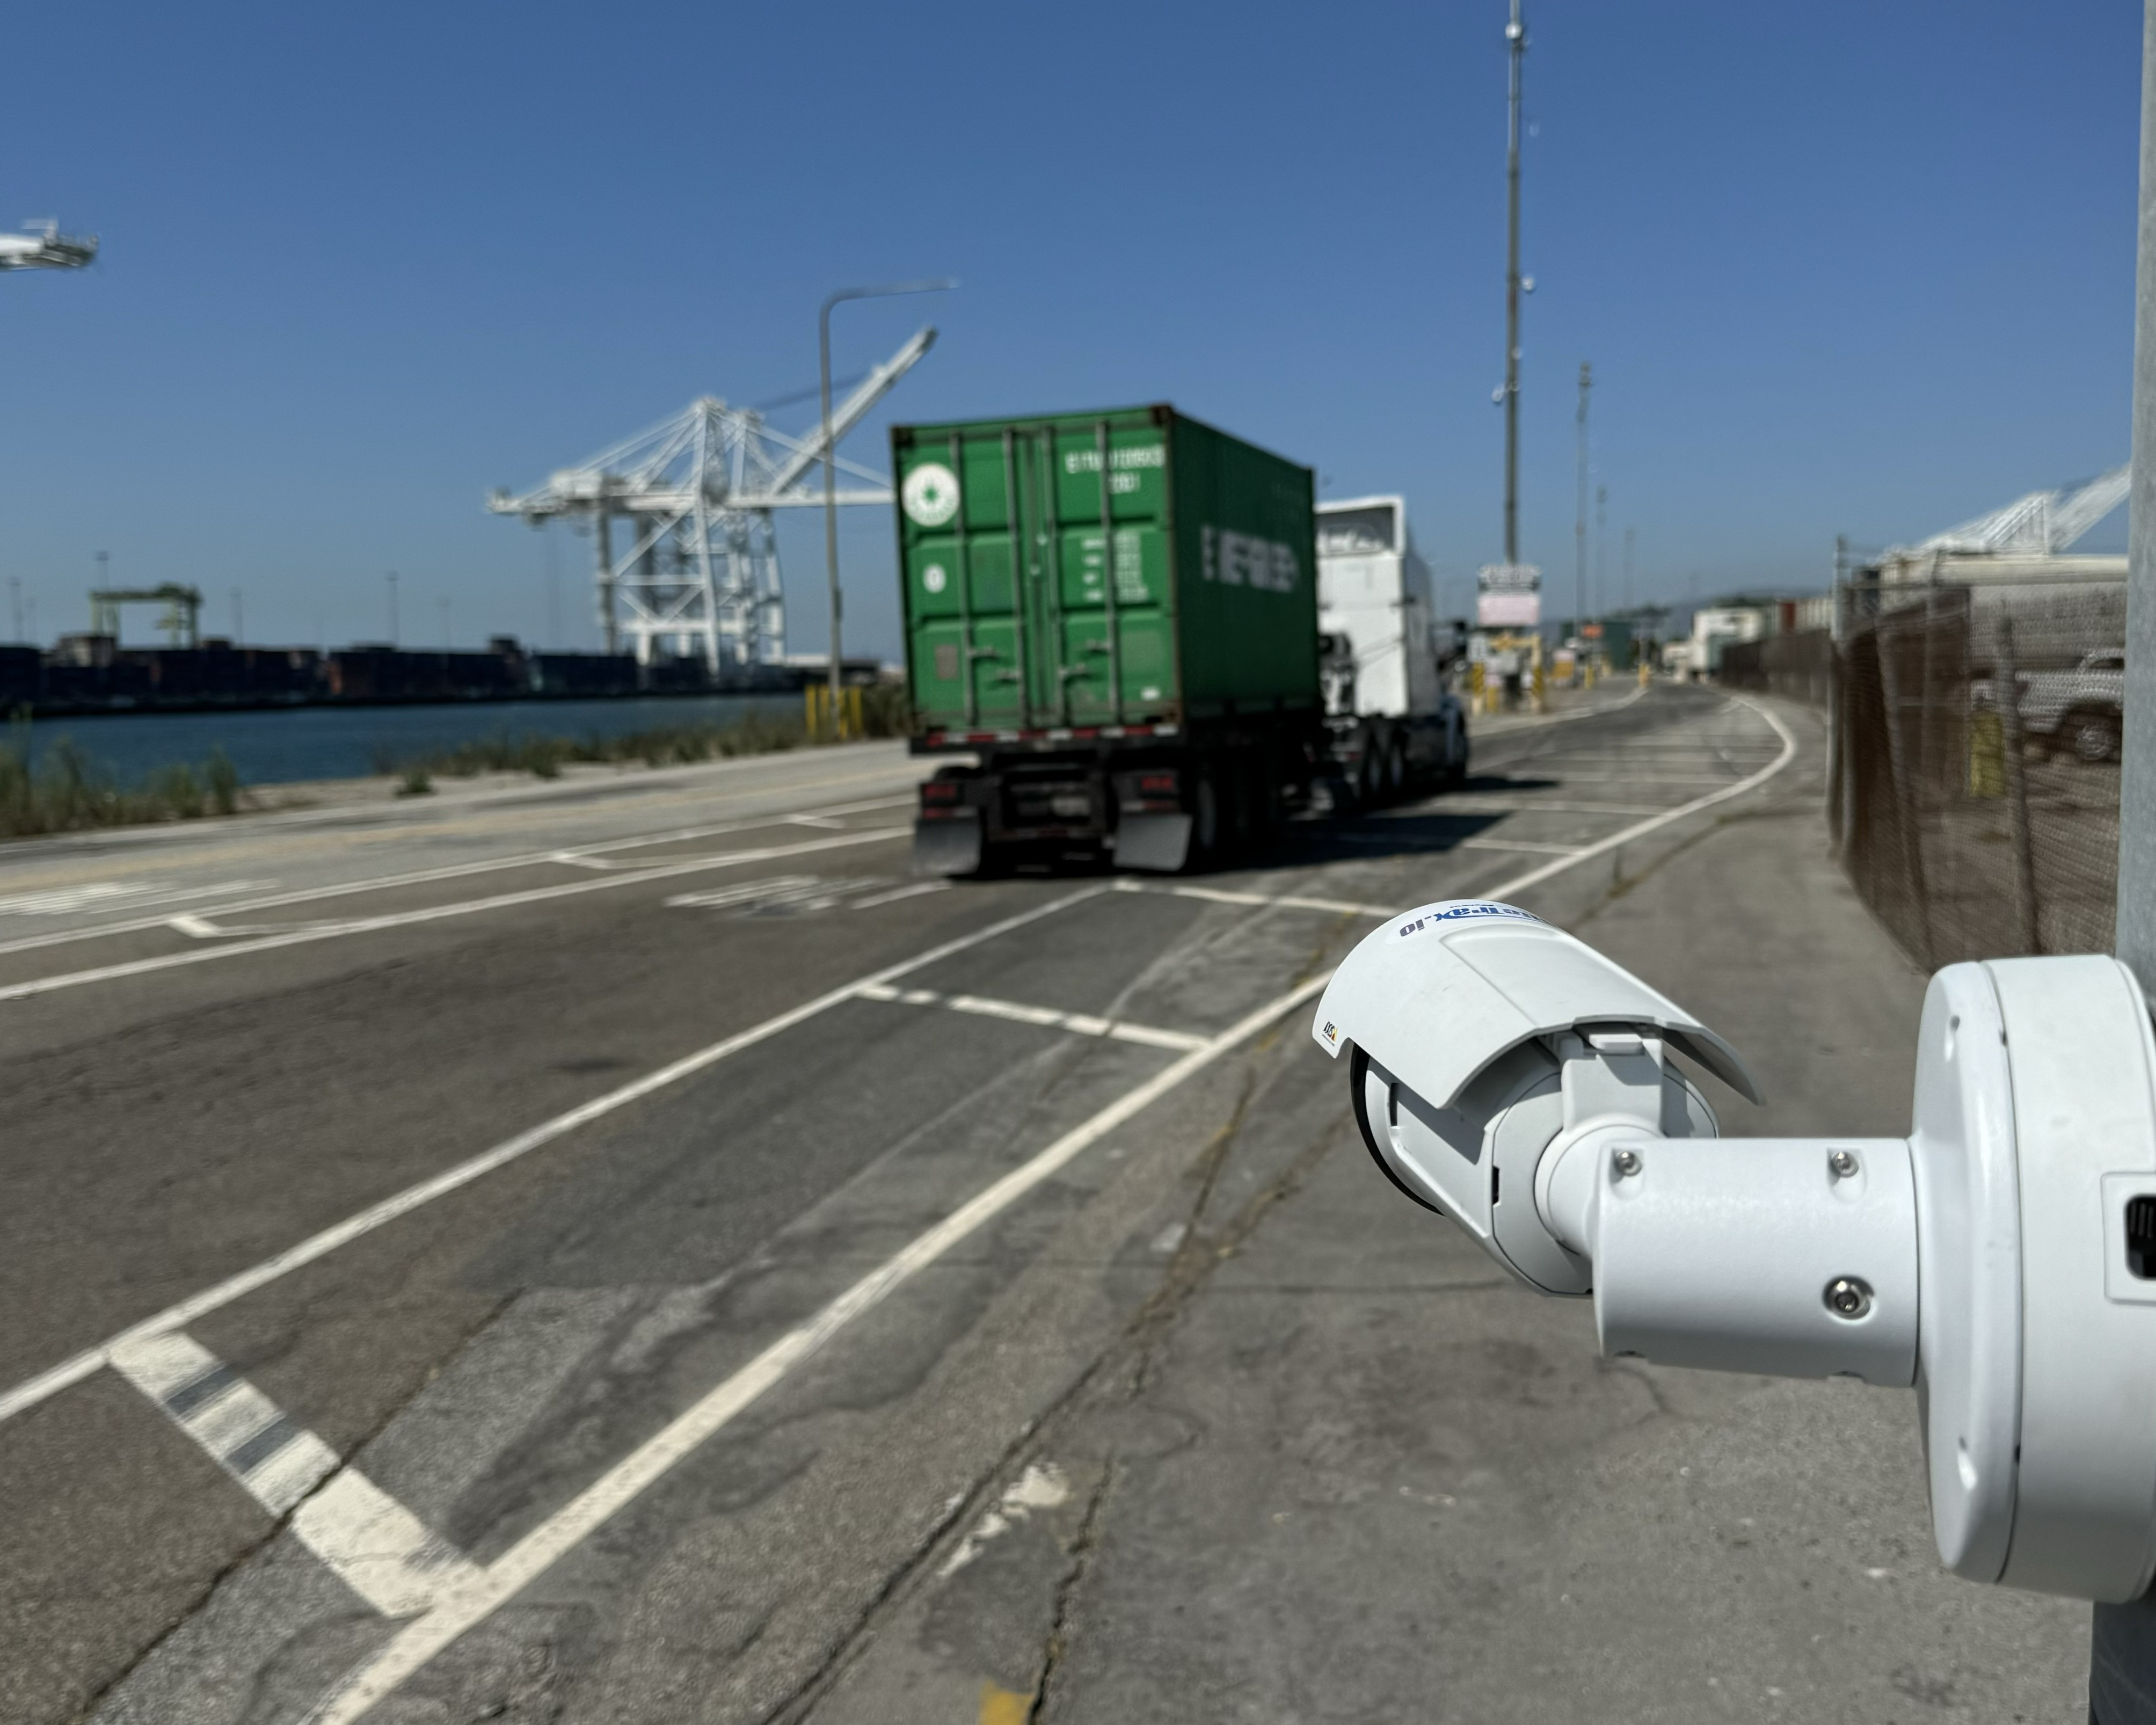 SiteTrax.io supports a Bring Your Own Camera (BYOC) model, letting you use a compatible third-party camera with the SiteTrax.io Gate platform instead of a SiteTrax.io-supplied device. This page explains what to evaluate before you deploy your own camera, the prerequisites and technical requirements for connecting it, and who is responsible for what. Read it alongside the SiteTrax.io Gate Camera Installation Requirements and Guidelines, which cover the mounting, lighting, speed control, and operational standards that apply to any Gate camera.
Before you commit to a BYOC deployment, it helps to work through the practical, operations-focused checks below with your SiteTrax.io account representative. The goal is to confirm how your camera will behave in real-world conditions and avoid surprises later.
Prerequisites
Before connecting your own camera, make sure the following are in place. Your SiteTrax.io account representative or the support team can help you with any of these:
- You have signed up for SiteTrax.io and have access to the SiteTrax.io Intelligence (see Accessing the SiteTrax.io Intelligence).
- You have a project established in the SiteTrax.io Intelligence for the site where the camera will be deployed (see Organization Configuration).
- You have a compatible camera that supports the agreed upload destination and delivery method.
- You have agreed whether storage is customer-provided or managed by SiteTrax.io.
BYOC Evaluation Criteria
1. Camera Visibility and Capture
Confirm your camera can reliably see and capture the asset IDs you care about in real-world conditions:
- Viewing angle and distance
- Motion and vehicle speed
- Potential obstructions
- Differences across asset types (e.g., containers vs. chassis)
For recommended mounting heights, orientation, and speed control, see the Camera Installation Requirements and Guidelines. Note that the camera must meet the video specifications SiteTrax.io requires for accurate OCR — see SiteTrax.io API — Input (Video) for resolution, frame rate, lens, and GPS-encoding requirements.
2. Storage and Data Flow
Agree storage ownership, access, retention, costs and the upload destination before deployment. Provider-specific configuration is in the cloud storage provider section. Customer-owned storage alone does not establish customer-cloud hosting for the application or analytics.
3. Remote Management and Access
- Confirm whether your camera offers a remote management interface the SiteTrax.io team can access for configuration, health monitoring, and troubleshooting.
- Decide whether management will stay with your team or the camera manufacturer.
- Where SiteTrax.io cannot manage the device directly, you will handle firmware/application upgrades and apply the configuration changes SiteTrax.io recommends.
4. Operating Conditions
- Available bandwidth at the site
- Performance at night and in low-light conditions
- Lighting quality — a key factor for OCR and computer vision accuracy (plan lighting per the installation guidelines)
Upload and integration setup
Use the dedicated storage provider section for the documented camera ingestion path, upload folder, access setup and optional event notifications. Confirm the project-specific values with SiteTrax.io. After setup, capture one known asset and verify the resulting identifier, timestamp, project and image in the application.
Who Is Responsible for What
This summary helps both you and the SiteTrax.io team understand where responsibilities land in a BYOC deployment.
SiteTrax.io is responsible for:
- Video ingestion from the agreed storage destination and creating structured asset observations (see API — Input (Video))
- Motion / object detection tuning
- Camera tuning guidance for day and night operation
- Delivery of processed data and access to asset observations via the SiteTrax.io Intelligence
You (the customer) are responsible for:
- Site infrastructure (power and connectivity)
- Camera maintenance (lens cleaning, orientation, power, etc)
- Firmware/application upgrades, or providing remote access for them
- Ownership of any customer-provided storage, including defining your own data retention policy
- The final destination of processed data in your downstream systems (e.g., YMS, WMS, TMS — see Organization Configuration)
Need Additional Assistance?
These criteria provide a foundation for evaluating and deploying your own camera with SiteTrax.io Gate. Site-specific variables may affect performance and integration. For help with sign-up, establishing a project, camera selection, storage setup and access, or integration planning, submit a support ticket via the SiteTrax.io support page or reach out to your SiteTrax.io account representative.
Physical Camera Installation Guide
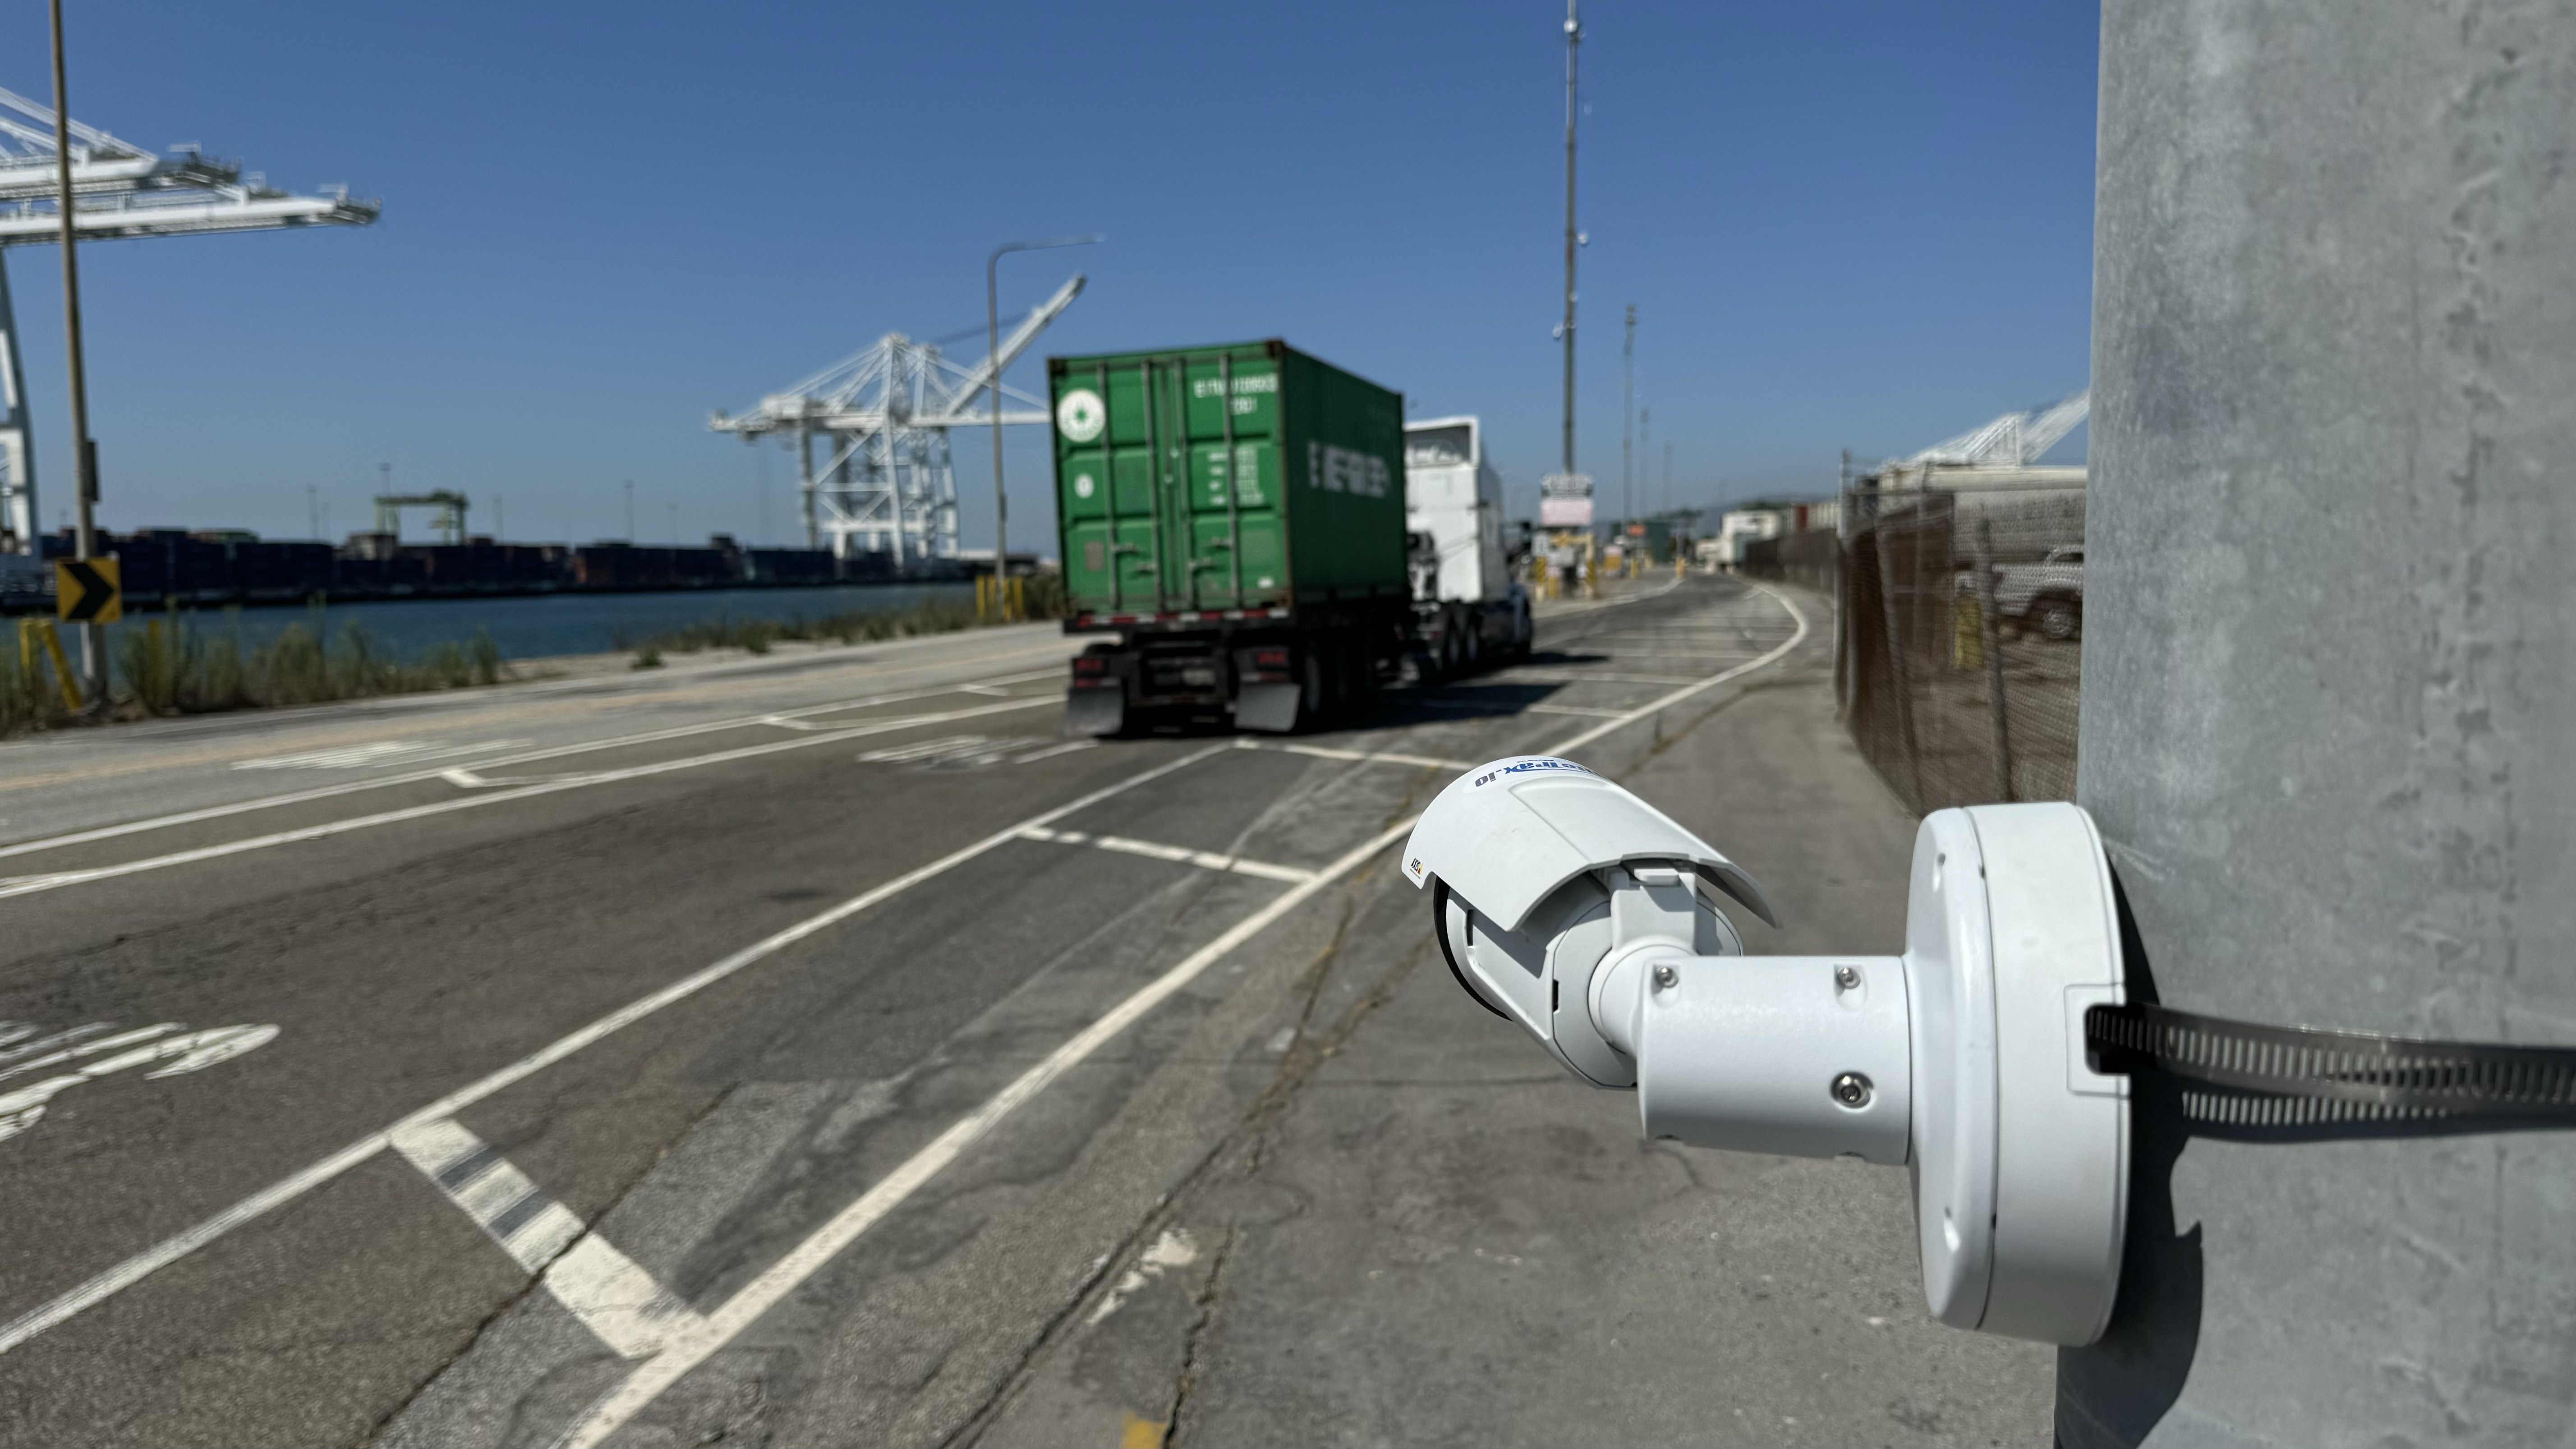
For hardware installers: use this guide to mount, connect, aim, and test fixed Gate and Bring Your Own Camera (BYOC) cameras. SiteTrax.io and the customer's designated integration team handle software integration and OCR acceptance. Agree who adjusts the camera settings before the site visit.
Before permanent mounting: send representative recorded footage to SiteTrax.io for review. A clear view of a vehicle does not necessarily make its identifiers readable.
Quick reference: fixed Gate cameras
Start with these published SiteTrax.io recommendations, then validate the actual lane and markings. Measure mounting height from the road surface to the centre of the lens.
| Item | Starting recommendation |
|---|---|
| Rear container and chassis IDs | About 3 ft (1 m) above the road. Keep both marking locations visible. |
| Container ID only | 4–6 ft (approximately 1.2–1.8 m) above the road. Metric values are converted from the published feet range. |
| Camera coverage | At least one camera per lane; two per lane is the published best practice. Assign each view to its intended lane, direction, and markings. |
| Vehicle speed | 10 mph (16 km/h) or less through the capture zone. |
| Recorded video | 1920 × 1080 at 30 fps; MP4; clips no longer than 1 minute. |
| Lens | 6 mm or longer is the published recommendation. Select the actual focal length for the camera sensor, distance, and required view. |
Sources: Gate requirements and Input Video specification. These heights apply to the stated fixed rear views, not every OCR installation. Other views, distances, angles, minimum character size in pixels, and acceptance rates are project-specific.
1. Confirm the installation brief
Before buying equipment or visiting the site, obtain a short installation brief agreed with SiteTrax.io and the customer. It must identify:
- Equipment: camera and lens models, mounts, lights, and outdoor/temperature suitability. Have SiteTrax.io review third-party camera compatibility using the BYOC guide.
- Layout: each camera's lane, direction, required identifiers, mounting position, target distance, and intended reading area (the capture zone). Mark lights and traffic paths on a site sketch.
- Power and network: supply type, required PoE standard and power budget where applicable, cable route/length, and the customer-provided network connection point. Check these against the selected equipment's specifications.
- People: installer, customer site/IT contact, SiteTrax.io contact, and the person responsible for focus, exposure, recording settings, and camera access. A hardware-only installer assists that person on site.
- Testing: representative vehicles, maximum speed, day/night test arrangements, how to share sample clips, and who reviews them. SiteTrax.io and the customer agree OCR acceptance targets.
Resolve missing details before permanent installation. The quick-reference recommendations do not replace the site layout or equipment specifications. BYOC storage and software tasks belong to the designated integration team unless separately assigned.
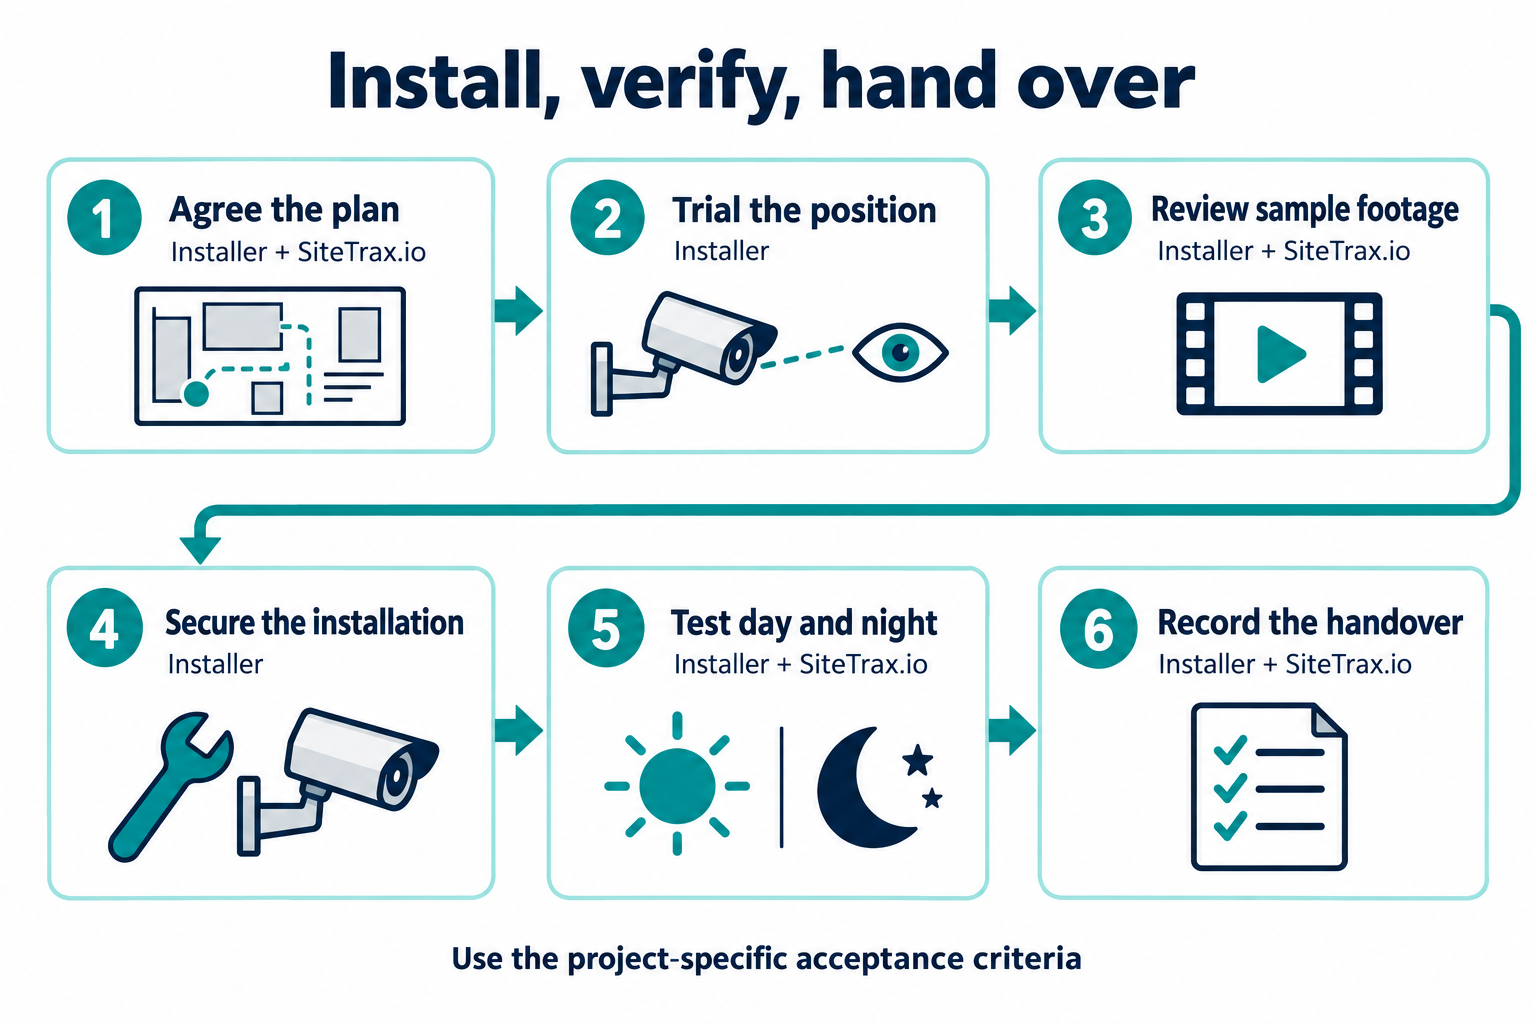
2. Trial the position and framing
- Use a representative vehicle at the capture zone. Trial the applicable height from the table before drilling permanent fixings.
- Aim as squarely as practical at the required markings. Keep text level; avoid steep downward or sideways views.
- Work with the camera-configuration owner to adjust optical zoom and focus so the smallest required text is readable in the saved recording at full resolution. Digital zoom cannot restore missing detail.
- Check the nearest and farthest vehicle positions and normal lane wandering. Include the complete identifier without clipping.
- Check queues, adjacent traffic, barriers, and vehicle structures for obstruction. If both container and chassis IDs cannot be captured clearly, change the position or add a view.
- Record moving samples and review them with SiteTrax.io before securing the final position.
Measure and record lens height, camera-to-target distance, and lane offset. Use dedicated lane/direction views as the baseline. A shared or bidirectional view requires validation with SiteTrax.io; see Gate Operations.
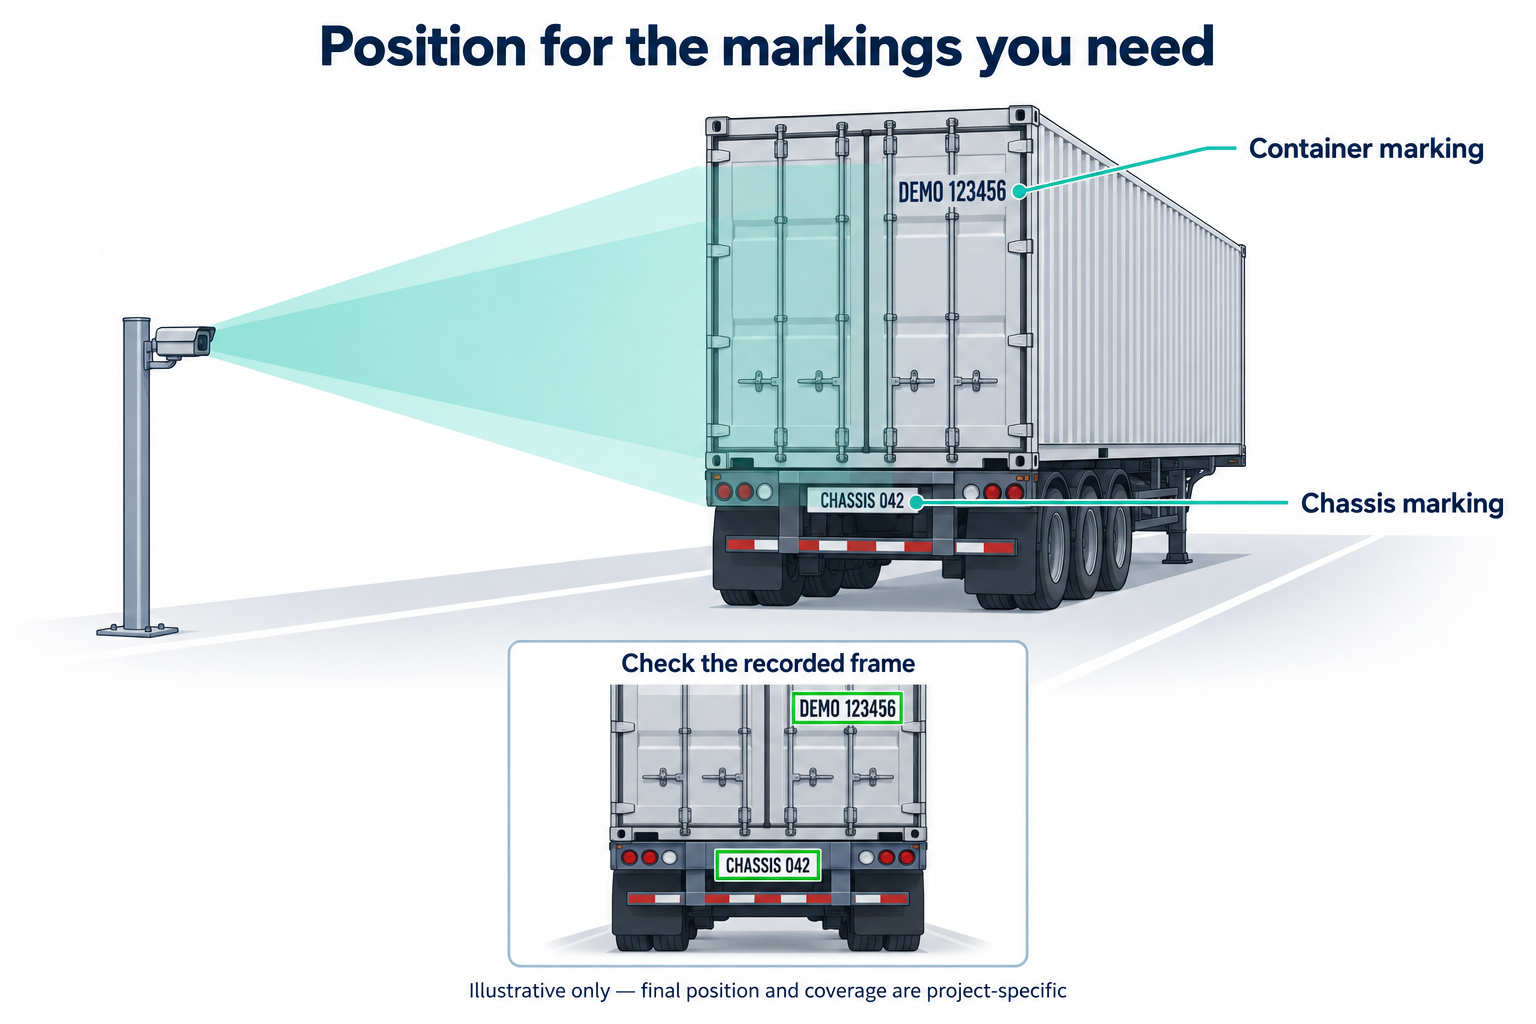
Illustrative coverage only; not a scale drawing or prescribed mounting geometry.
3. Secure the camera and cabling
- Use a rigid mount and manufacturer-approved fixings suitable for the structure and outdoor conditions. Protect low cameras from vehicle impact.
- Keep the camera and cables outside vehicle clearance and pedestrian routes. Provide safe maintenance access.
- Fit weatherproof glands, connector protection, strain relief, and drip loops. Follow the hardware instructions for power, grounding, and surge protection.
- Tighten fixings to the manufacturer's specification, secure cables, and label the camera and network connection.
- Verify camera power and the network link with the customer IT contact; confirm the configuration owner can access the camera.
- Clean the lens/window. Recheck framing and focus after tightening; save a reference image.
4. Check moving images in daylight and darkness
Capture samples at the agreed maximum speed and vehicle positions. The installer adjusts physical placement and lighting; the camera-configuration owner changes image settings. Review the saved clips together:
- Blurred moving text: shorten exposure with the camera supplier or SiteTrax.io; add suitable light if the result becomes too dark. 30 fps alone does not prevent blur.
- Washed-out text or glare: adjust lighting position/output and exposure. Check actual painted and reflective markings.
- Dark or uneven text: illuminate the complete capture zone and retest at night. Check focus after day/night switching.
- Ghosting or bands: review WDR and lighting flicker settings with the supplier, using recorded moving footage.
The Gate lighting guidance provides a starting arrangement. Lamp output is not a measurement of light reaching the marking; acceptance depends on the recorded result.
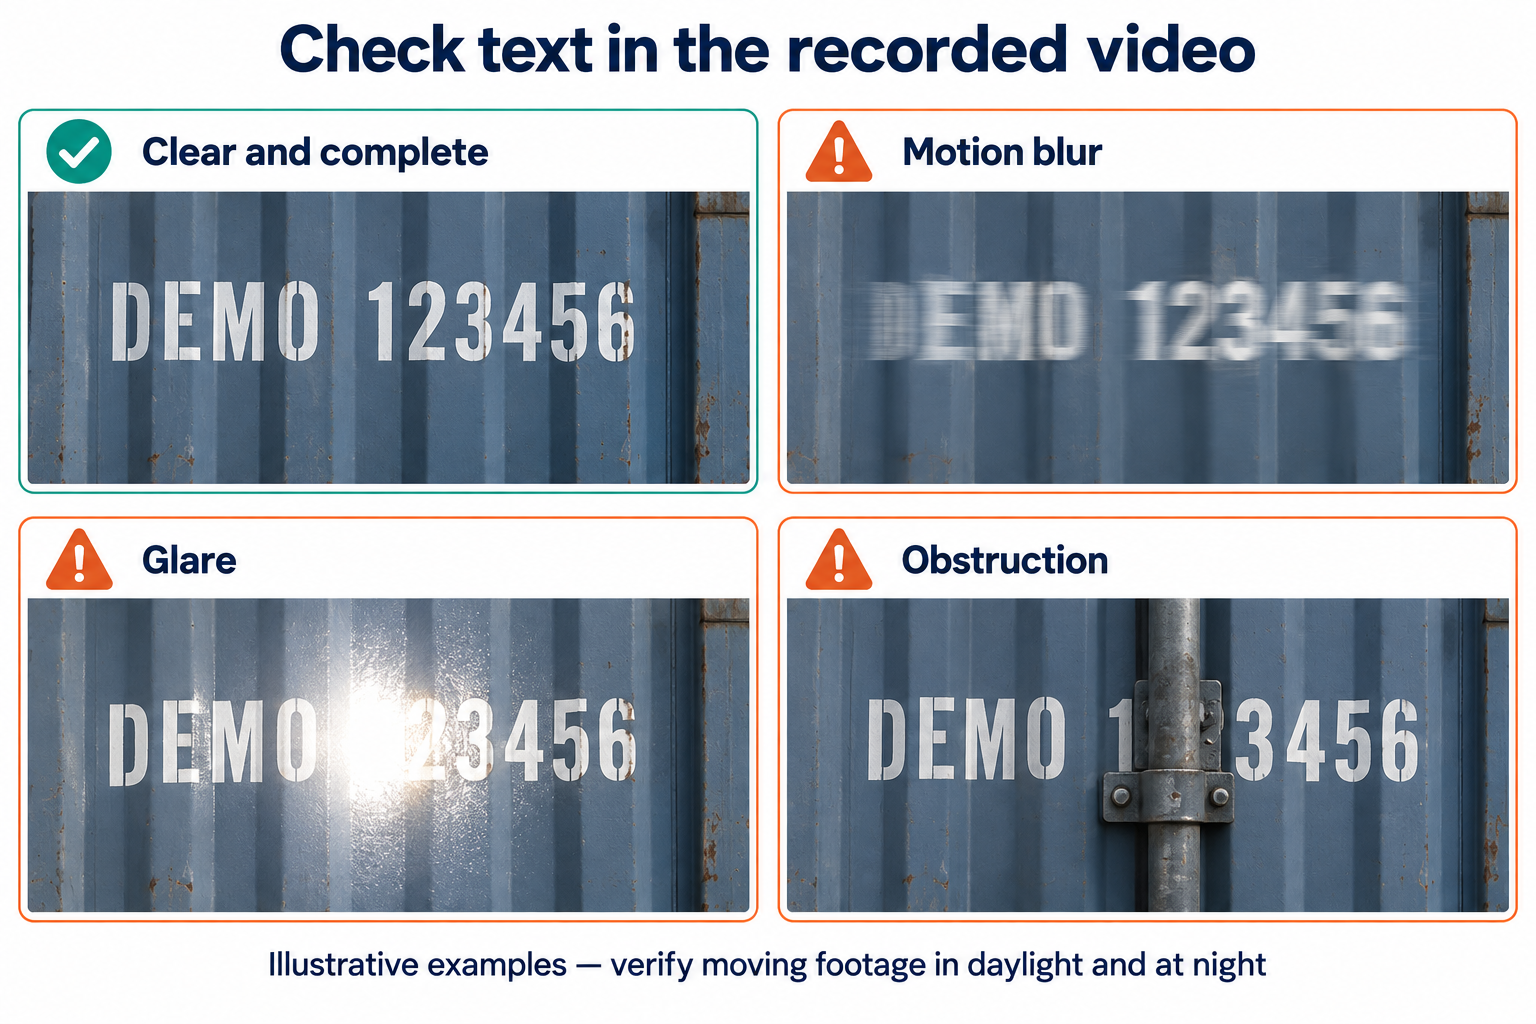
Simulated examples, not OCR test results.
5. Complete the hardware handover
Installer checklist: tick each item when checked and documented.
- ☐ Mounting: camera and lights secured; connectors weatherproofed; cables protected and labelled; vehicle clearance checked.
- ☐ Power and network: camera powered correctly, network link verified, and access confirmed with the configuration owner.
- ☐ View: required markings visible across normal vehicle positions; framing and focus rechecked after tightening.
- ☐ Evidence: full-resolution moving clips supplied for daylight and darkness, labelled with camera, test time, direction, and speed. Identify any test still outstanding.
- ☐ Installation record: supply camera/lens details, final height, target distance, lane offset, site sketch, photos, and settings recorded by the configuration owner.
- ☐ Handover: name the maintenance contact, agree cleaning/inspection arrangements, and record unresolved issues and who will resolve them.
Send the record and clips through the agreed project channel. SiteTrax.io reviews the capture evidence and identifies any physical adjustments needed. Record hardware handover separately from final OCR acceptance.
Integration acceptance — SiteTrax.io and customer integration team
These checks belong to the designated integration team, not the hardware-only installer:
- Video delivery: verify uploads reach the correct project with the required format, timestamps, and location information. Follow Input Video and the BYOC guide.
- OCR results: compare known identifiers with results in SiteTrax.io Intelligence; verify direction where required. Record correct, incorrect, and missing reads against the agreed test population and conditions.
- Sign-off: compare results with the project's targets. Record the decision, approver, and outstanding actions; request installer assistance if positioning or lighting needs adjustment.
For result interpretation, see How Intelligence uses SiteTrax.io data. For missing uploads or results, use the Troubleshooting Guide.
Other capture methods and ongoing checks
- Vehicle-mounted: follow the Drive installation guide for mounting, cabling, and power. Check vibration and moving footage; the fixed Gate heights above do not apply.
- Handheld: follow Capture Android or Snap. Keep the required markings complete, steady, and well lit.
- Maintenance: inspect cleanliness, alignment, fasteners, seals, cables, and lights on the agreed schedule. Repeat affected tests after impact, relocation, or changes to camera settings, lighting, or lane layout.